Under the file of “they don’t make things like they used to” is a large section for vehicle headlights. There is a cottage industry for various ways to combat the annoying clouding, yellowing and general awfulness of it all.
Our Phaeton has been afflicted with the yucky headlight disease for a couple of years now. Our first try was with toothpaste, no change. Then we tried a kit from our local auto parts store. After that failure we spent more money on a sure-fire product that was the best on the market, or so their marketing claimed. While on a trip in Colorado I tried one headlight with lackluster results. Convinced I did it wrong, Mark did the other one with a little better looking lens. Haha, smart guy, now you get to do mine again. That little bit of success didn’t last long and we were back to the ugly mess.
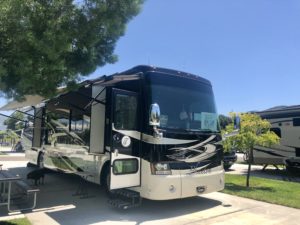 Our coach is a 2010 model so pretty soon we’re going to have to submit photos at certain RV parks before making reservations and to be honest, the headlights date the coach. No matter how great the rest of the coach looks, the headlights scream, “Hey! I’m an old RV!”
After our outside TV upgrade, we were inspired to tackle new headlights. How hard could it be?
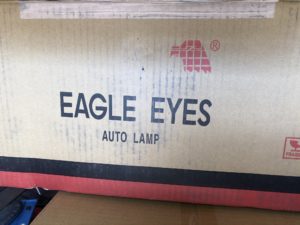 Our first task was to find the right new headlights. Full disclosure, it was a lot easier than I thought. Mark found the website RVHeadlights.org in two seconds flat. Another minute later and he ordered the exact headlights our Phaeton came with. Here’s a fun fact: they are 2007-2017 Chevrolet Tahoe headlights.
If only swapping the old ugly ones out for the pretty new ones was that fast. Your motor home access and swap out process may be different but here’s how it worked with ours.
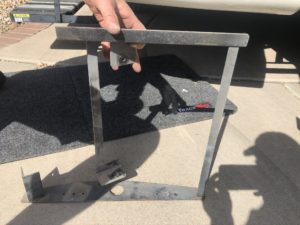 We started with the passenger headlight and created working space by opening up the generator tray. Tiffin made a steel headlight attachment housing of sorts to hold the light in place. This awkward piece of metal makes this a two-person job.
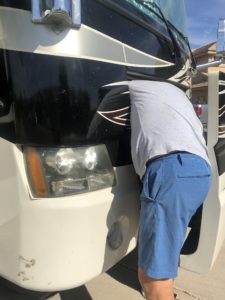
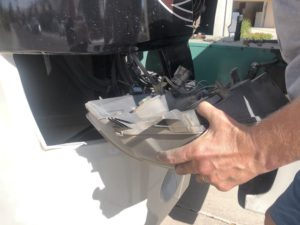
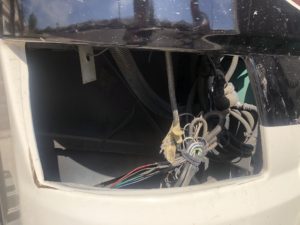
Mark started the removal process by unscrewing the bolts that attached the headlight to the metal housing. Next up was removing the top self tapping screws on the metal housing that attached it to the motor home. Lastly, he laid under the front of the coach and unscrewed the remaining screws. The metal housing thing doesn’t fit pulling it out from the top so I held the top while he unscrewed the bottom and pulled it out. After that, the headlight housing was easy to pop out and disconnect the wires. It sure looks strange without the headlight in.
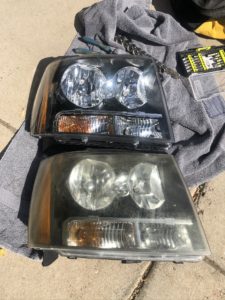
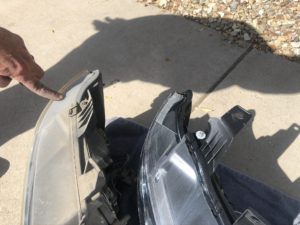
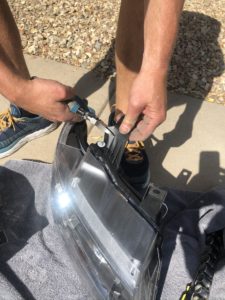
There is one modification to the new headlights before putting them in. There is a topside mounting arm that isn’t necessary and was cut at Tiffin. We laid the old and new side by side and made the same corresponding cut on the new one.
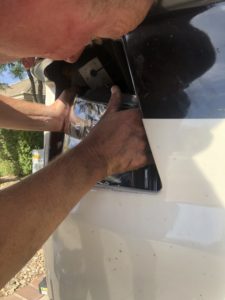
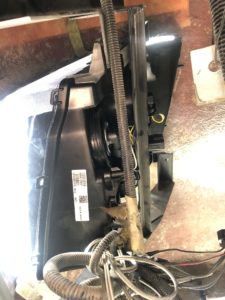
Time to put the shiny new headlight in! He fit it in then I held it in place while he hooked up the wires. Before moving forward I turned the coach lights on to make sure the new one worked properly. Now came the hard part. We got it set in the correct position but comparing it to the drivers’ side headlight. Once we were confident it was straight, I held it in place while Mark went to work on attaching the metal housing thing to the new headlight.
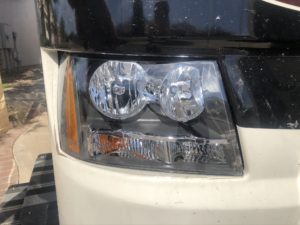
Holy cow what a difference! Even in the daytime and a “freshly returned from a trip” dirty coach, the difference was striking. My angle is off on the picture, the passenger headlights really are on, and oh so clear. The last thing to finish the install was to zip-tie the wires back together like it came from the factory.
One down, one to go.
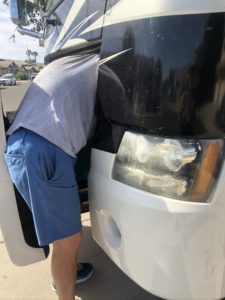
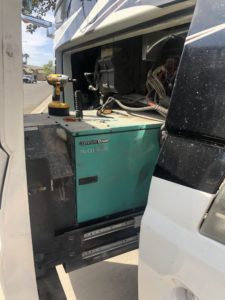
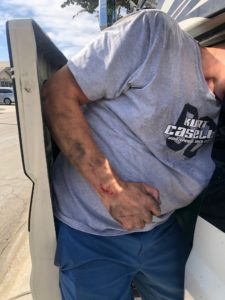
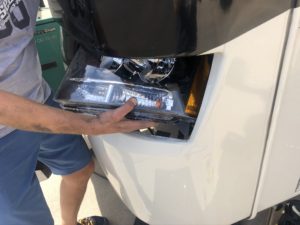
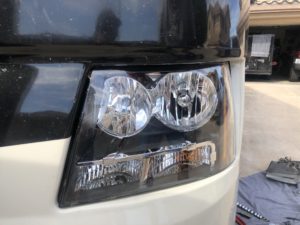
This side went faster in that we knew what we had to do. But, we are both right handed so reaching through and unscrewing/screwing was a little more challenging. And bloody as Mark scratched himself a few times on the fiberglass.
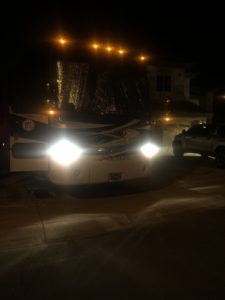 After we were done, I couldn’t help myself. While washing the coach, I kept coming back to the front and stared at the new headlights. Of course we checked it a few times after dark. Okay, maybe I checked it out more times than Mark did.
Now all we had to do was check alignment. We normally back into our storage space but this time we pulled straight in. I’m happy to report they are right where they should be. Yee-haw!
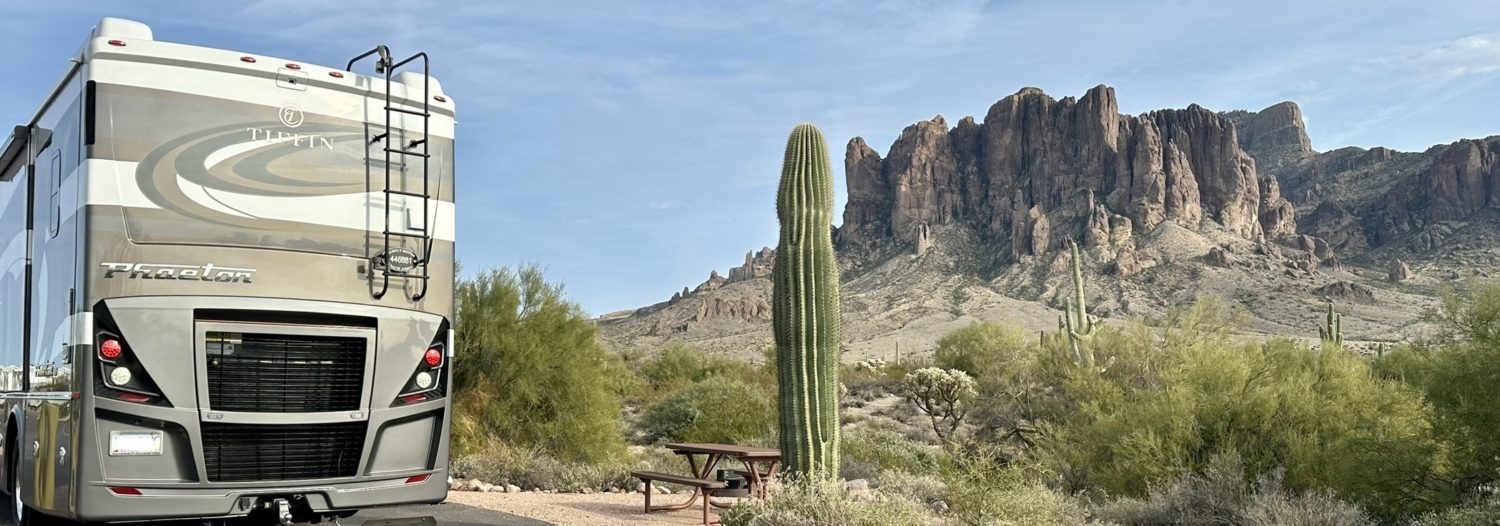
We have the exact same coach. Same color even. ‘10 QTH. 90,000 miles. Over 1,000 overnight stays. Great job on the lights!
Thanks! Hope to see you in the toad someday!
I would love to update the lights on my 2001 National Caribbean
Anyone have any suggestions?
I would start at https://rvheadlights.org/ for the headlights. Enter your make/model and you’ll find out what headlights you have. It wasn’t as hard as I thought it would be to do it ourselves.
I would love to update my headlights on my 2001 National Caribbean
Anyone have any suggestions?