Pumpkin was the first pie I made shortly after Mark and I got married. I used one of those frozen crusts and the all-in-one canned mixes. It was gross, but Mark smiled and asked for more. That’s good husband material there. Making my own pumpkin scared me so I tried the Libby’s can one more time and this time I bought the correct one! Ever since, I buy the big Libby’s can that requires adding the rest of the pie goodness. I used the Pillsbury pie crusts for a couple of years before I finally went to Gail, my mother-in-law for pie crust training.
 I always make two at a time. As Mark and the boys used to say, “one for us and one to share.”
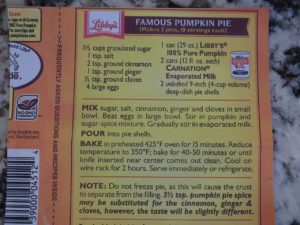 I have to say, making a pumpkin pie is probably the easiest one to make and best one to start on if you’ve never made one from scratch. The recipe on the Libby’s can is tried and true, until they changed it recently. Why, oh why would they mess with perfection?! Lucky me I already had the original recipe stashed in my recipe folder. I don’t doubt that the new recipe is good, it’s just not the original super easy and supremely awesome recipe.
 I start by making my pie crust. You can make your own or use a store bought crust. Click here for Gail’s foolproof crust recipe.
Now it’s pie time!
Preheat your oven to 425°.

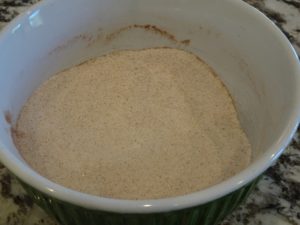
Stir together sugar, salt, cinnamon, ginger and cloves in a small bowl. It already smells like a holiday!
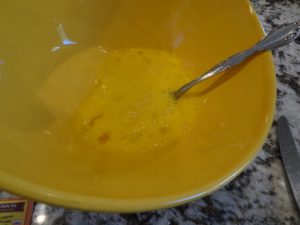
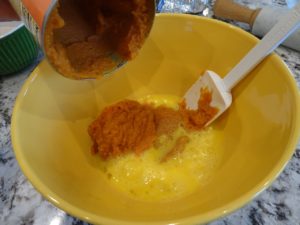
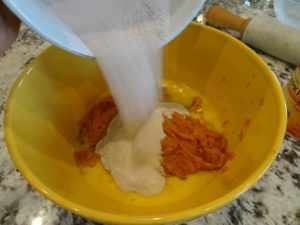


Next, beat the eggs in a large bowl. Stir in the perfect pumpkin and the sugar mixture.


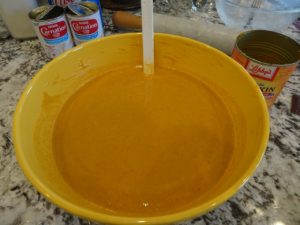 Slowly pour in the evaporated milk, stirring while you pour. I use one of my square silicone pot holders to hold the bowl in place while I pour and stir.
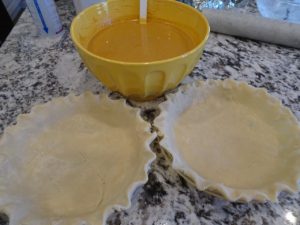

 Pour the delicious mixture into your pie shells. The bowl is pretty full so I use my two-cup Pyrex measuring pitcher to fill the pie plates. Once the bowl isn’t as full, it’s easy enough to pour directly from the bowl into the pie shells.
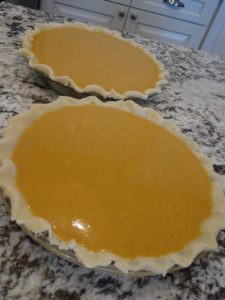

Now comes the hardest part: sliding the baking rack back into position after you put the pies on it. My stepmom pushed them in too fast once and holy cow, what a mess. I don’t pull the rack out very far and I push slowly and evenly.
Bake at 425° for 15 minutes then turn the oven down to 350° and bake for 40-50 more minutes. In my oven, it’s 54 minutes. The pie is done when you insert a knife in the center and it comes out clean. I’ve not had an issue with burning crusts, but if they start to look like they are burning, cover them with a long skinny piece of foil. Use oven mitts to secure the foil so you don’t burn your hands!
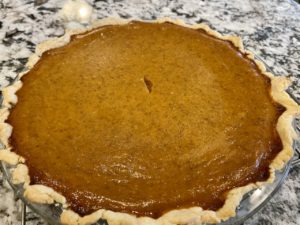

Cool your pies on a wire rack then serve or refrigerate until it’s dessert time. Store any leftovers covered in the refrigerator.
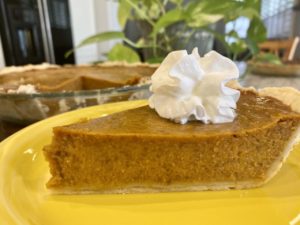 Pumpkin Pie
Makes 2 pies
- 1 1/2 cups sugar
- 2 teaspoons cinnamon
- 1 teaspoon salt
- 1 teaspoon ground ginger
- 1/2 teaspoon ground cloves
- 4 large eggs
- 1 29-ounce can Libby’s 100% pure pumpkin
- 2 12-ounce cans evaporated milk
- 2 unbaked pie shells
Preheat oven to 425°.
Stir sugar, cinnamon, salt, ginger and cloves in a small bowl, set aside. In a large bowl, beat the eggs. Stir in the pumpkin and sugar mixture. Gradually stir in the evaporated milk.
Pour into pie shells. Carefully place in oven.
Bake at 425° for 15 minutes then turn the oven down to 350° and bake for an additional 40-50 minutes. The pie is done when you insert a knife in the center and it comes out clean.
Cool on a wire rack. Serve or refrigerate until serving time.
